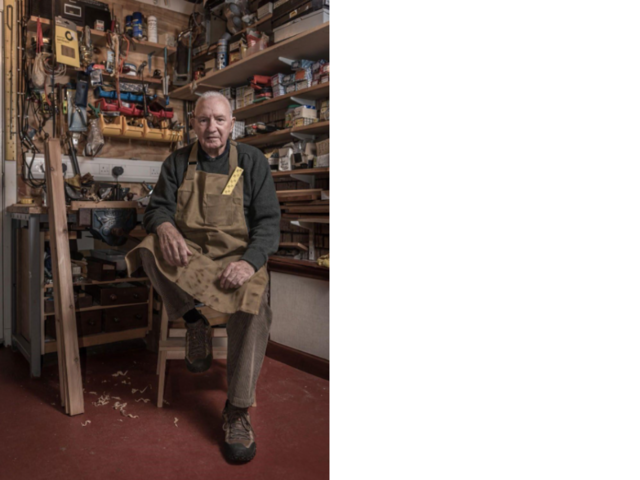
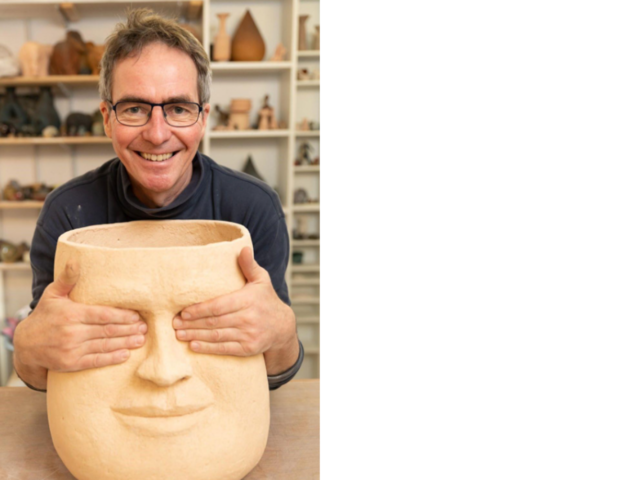
An environmental portrait is a portrait of a subject in their typical environments such as home or place of work to illustrate the subject’s life and surroundings.
In this article, we guide you through the process of creating an environmental portrait.
What is needed in an environmental portrait?
1. The portrait depicts your subjects profession by:
- Showing them in their work environment
- Using relevant props to represent their profession
- Having them look directly into the camera
2. The portrait uses an appropriate lighting style.
3. The portrait has a good exposure triangle including:
- Sharp focus
- Low ISO (preferably)
- Adequate depth of field.
How to create an environmental portrait, a step-by-step guide:
1. Get to know your client and the environment.
- What is your client’s profession?
- What materials or equipment does your client need to do their work?
- Get to know items your client uses on a daily basis so you can create a visual representation of their profession.
Consider any special clothing or uniforms your client may wear as part of their work.
2. Study the best lighting options.
- Will you shoot indoors or outdoors?
- What are the best lighting options for your scene?
- Natural Light, Continuous light, Flash strobes?
Can you use any light modifiers to improve your final outcome? What are the pros and cons of each choice?
3. Choose an appropriate lighting style.
- Which one is the most appropriate in relation to your client?
- Rembrandt, Loop, Split, Butterfly, Broad, Short?
Consider the pros and cons of each style and take some test shots and evaluate the results.
4. Consider weather conditions and time of day
- Identify the best time to take your photographs.
- The sun is a great light source but it isn’t your only option for shooting outdoors.
- An overcast sky can produce interesting results.
- You can overpower sunlight with external flash.
- Consider the time of the day.
Sunrise and sunset give a softer light compared to midday. The time of the day influences sunlight even when you are shooting indoors.
5. Choose relevant props to represent your client’s profession.
- Choose props that your client uses in their profession.
- Choose appropriate clothing or uniform for your client.
- Your props and clothing should clearly depict your client’s profession.
Will these props go well with your chosen lighting style?
6. Frame your composition.
Examples of composition techniques include:
- Rule of thirds
- The Gold Ratio
- Leading lines
- Diagonals
- Framing
- Figure to ground
- Fill the frame
- Centre dominant eye
- Symmetry and Asymmetry
7. Measure light and aim for correct exposure.
- Consider what metering mode would suit you best.
- Spot, Centre-weighted, Matrix/Evaluate.
- Take numerous shots and evaluate your results.
- Consider manual mode or exposure compensation if needed.
Read more of our photography articles and tips.
And if you are interested in taking your photography skills to the next level or starting your own business, we have the right course for you.